Step-by-Step User Attribute Creation Guide
Step-by-step guide to creating custom attributes in AssetView for organizing and filtering your portfolio data.
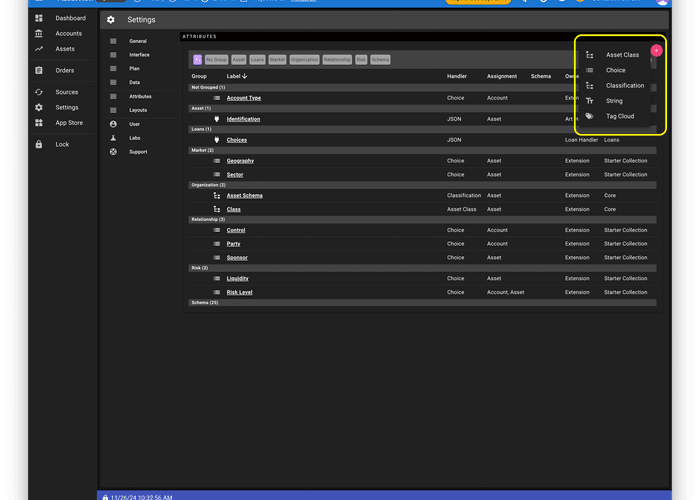
- Click the "Settings" button on the left navigation pane, then click the "Attributes" tab, and then click on the "App" radio button to see a list of pre-configured Attributes. The "Creator" column shows you what App crested the Attribute. As an example, the "Party" Attribute, was created by the "Starter Collection" App.

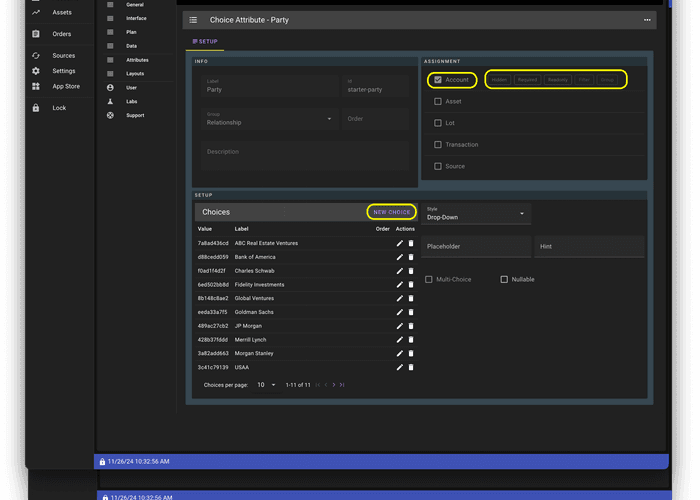
- Click on the "Party" attribute to see the configuration screen for the Party Attribute. The Party Attribute has been assigned to Accounts. On this screen you may add new choices to this Choice Type Attribute. For attributes that you create, you may choose one or more Assignments for the Attribute and you may create choices if you create a Choice Type Attribute.
- Click the "+" button to create a new Attribute. You may then choose the Type of Attribute you wish to create.
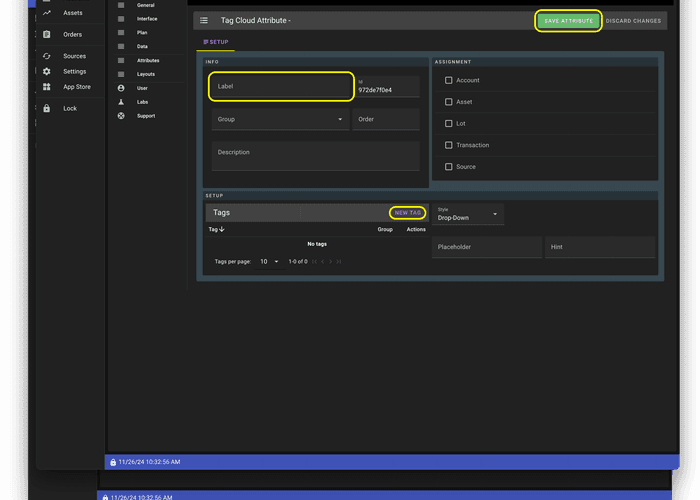
- For each Attribute Type, you will be prompted for appropriate configuration. Click the "Save Attribute" button to save your new Attribute.
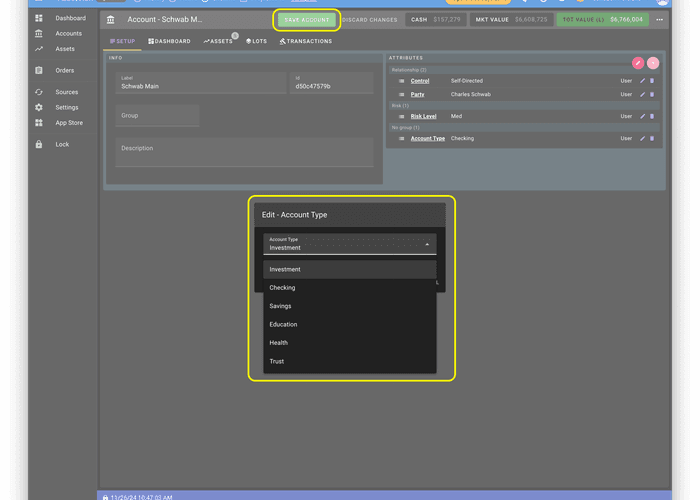
- When you visit an object (e.g. an Account, an Asset), on the "Setup" tab, you may click the "+" button to populate an Attribute.
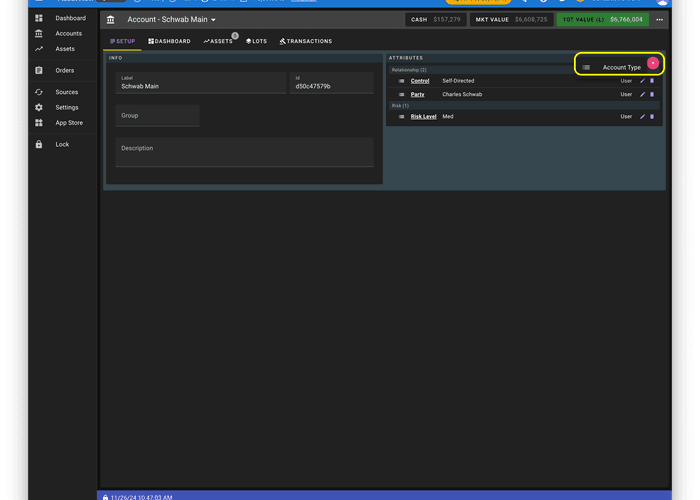
- You will be promoted to provide information (e.g. select a from a choice list) depending on the Attribute Type.
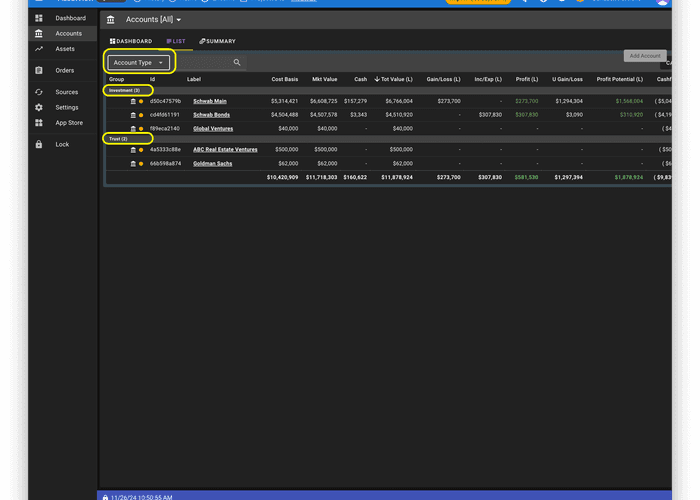
- When you visit an object (e.g. an Account, an Asset) List view and Summary view, you may select an Attribute to see information grouped and summarized by an Attribute (e.g. "Account Type").